

Graphic design is all about making visuals that stand out,...
Client: DogRoomIndustry: Pet ServiceWebsite: www.dogroom.co.nz Project Overview: DogRoom.co.nz, a leading...
Client: Shanequa Jones Real EstateIndustry: Real Estate – Buying and...
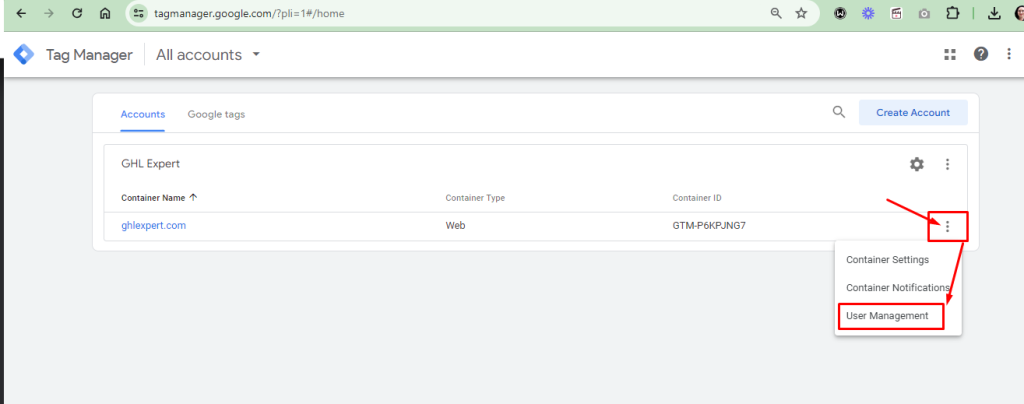
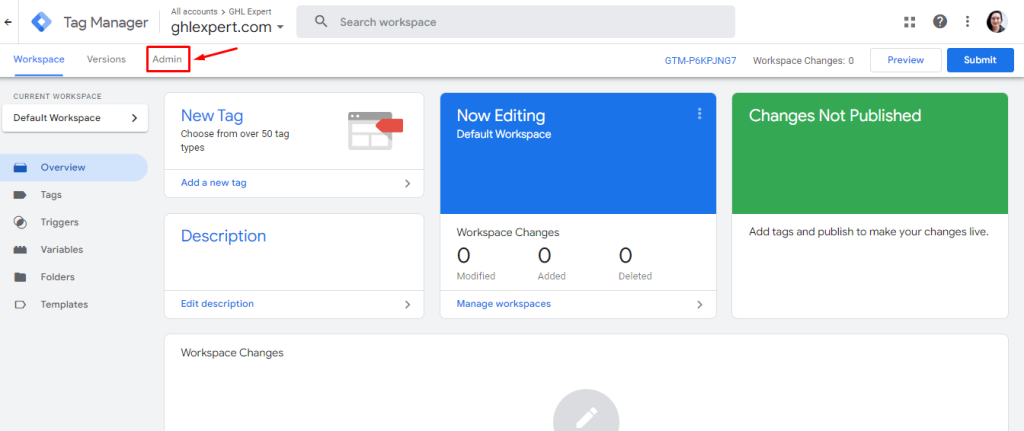
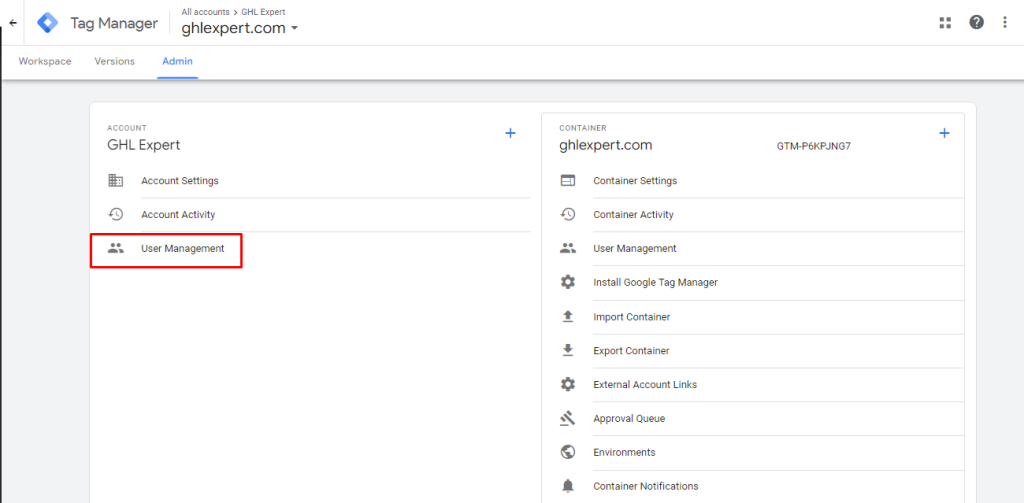
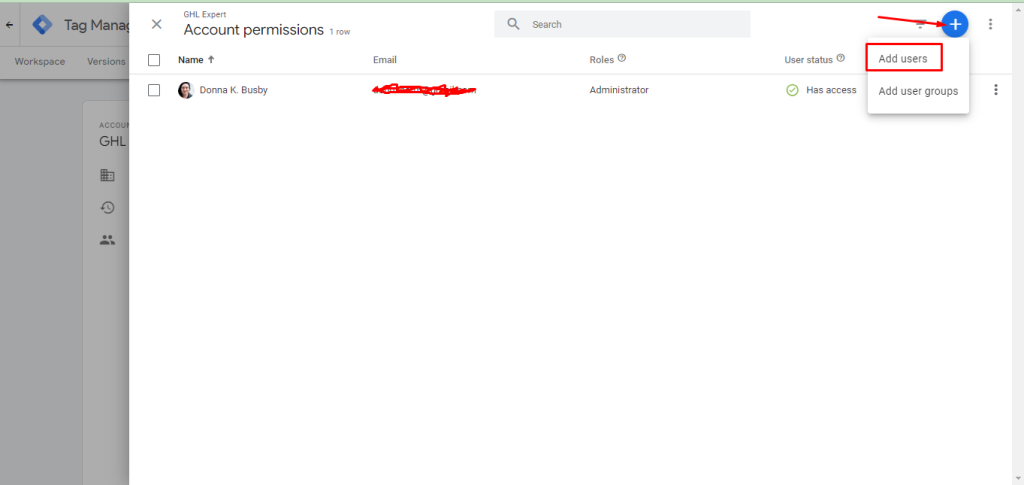
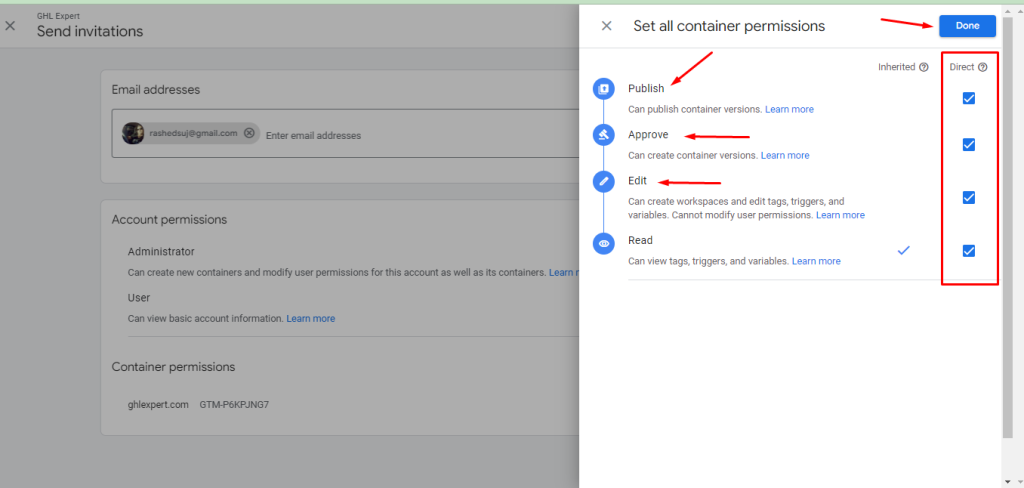
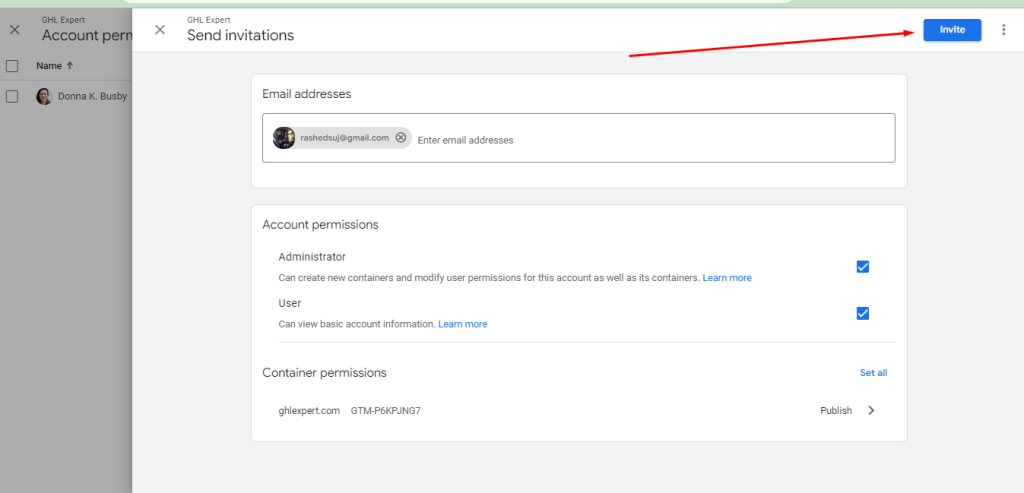
Understanding how Google Tag Manager (GTM) operates is essential for...